Spring Boot REST and Keycloak - Part 1
KeyCloak is an open source identity and access management solution. It makes it easy to secure applications and services with little to no code.
Springboot is a framework that allows you to create stand-alone, production-grade Spring based Applications that you can “just run”.
The combination of both allows you to create a micro system environment with a REST API secured with keycloak as a single sign on solution.
Due to deprecation of the keycloak-spring-boot-adapter, this example tries to circumvent the problem by using the spring-addons-starter-oidc library implemented by the Spring Addons project.
Keycloak configuration
The first obvious step is to download and install Keycloak and prepare it for out application needs.
Download Keycloak
There are several distributions to choose from. However, in this tutorial, we’ll be using the standalone version.
Let’s download the Keycloak-22.0.3 Standalone server distribution from the official source.
Start Keycloak
Once we’ve downloaded the Standalone server distribution, we can unzip and start Keycloak from the terminal:
$ unzip keycloak-22.0.3.zip
$ cd keycloak-22.0.3
$ bin/kc.sh start-dev
After running these commands, Keycloak will be starting its services. Once we see a line containing Keycloak 22.0.3 […] started, we’ll know its start-up is complete.
Now let’s open a browser and visit http://localhost:8080. We’ll be redirected to http://localhost:8080/auth to create an administrative login:
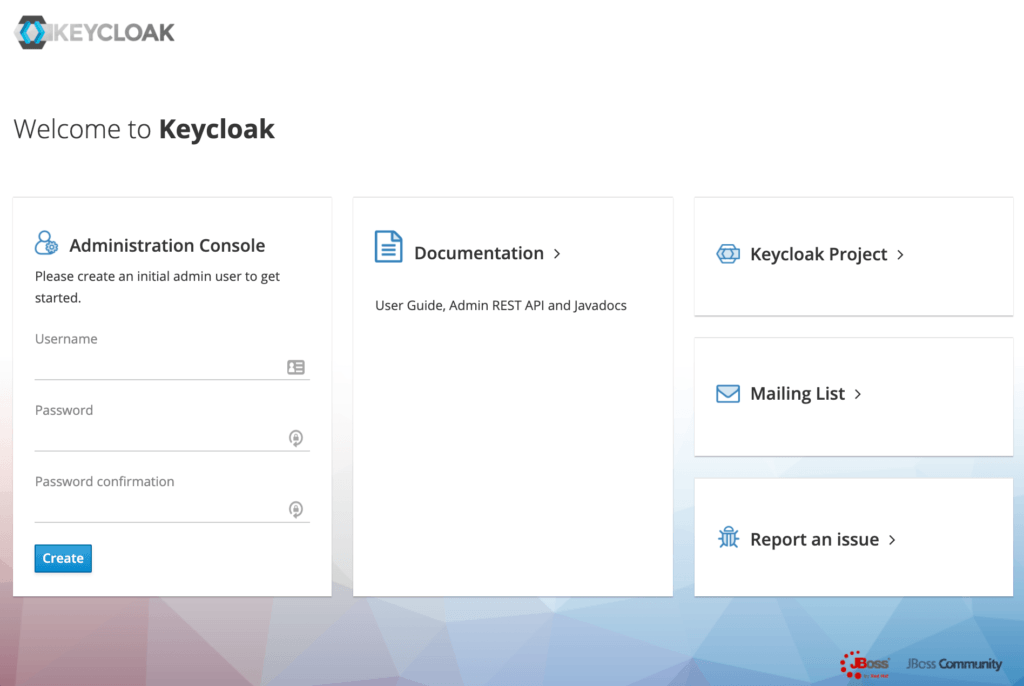
Create an Administrative User
Let’s create an initial admin user named initial1 with the password zaq1!QAZ. Upon clicking Create, we’ll see the message User Created.
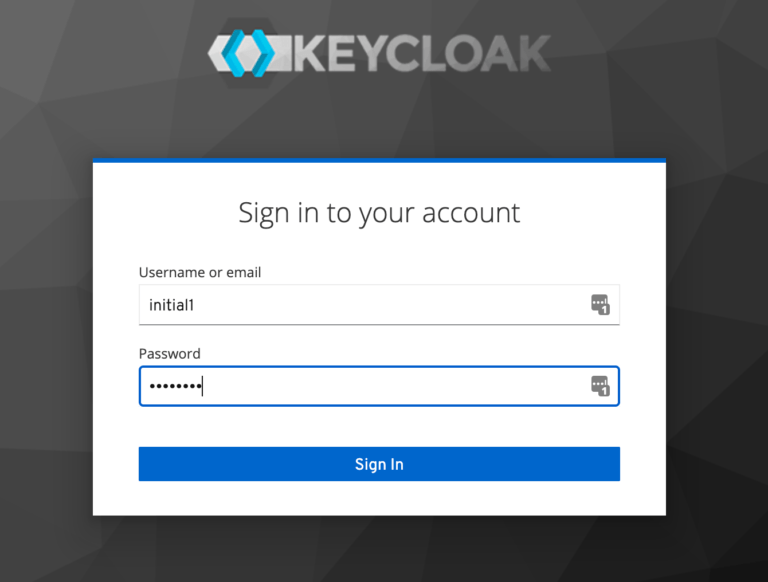
We can now proceed to the Administrative Console. On the login page, we’ll enter the initial admin user credentials.
Creating a realm
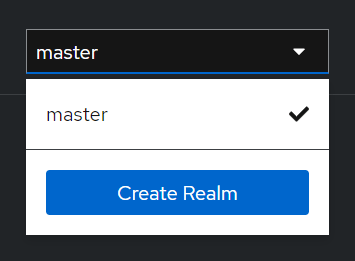
A successful login will take us to the console and open up the default Master realm for us.
Here we’ll focus on creating a custom realm.
Let’s navigate to the upper left corner to discover the Create realm button:
On the next screen, let’s add a new realm called SpringBootKeycloak:
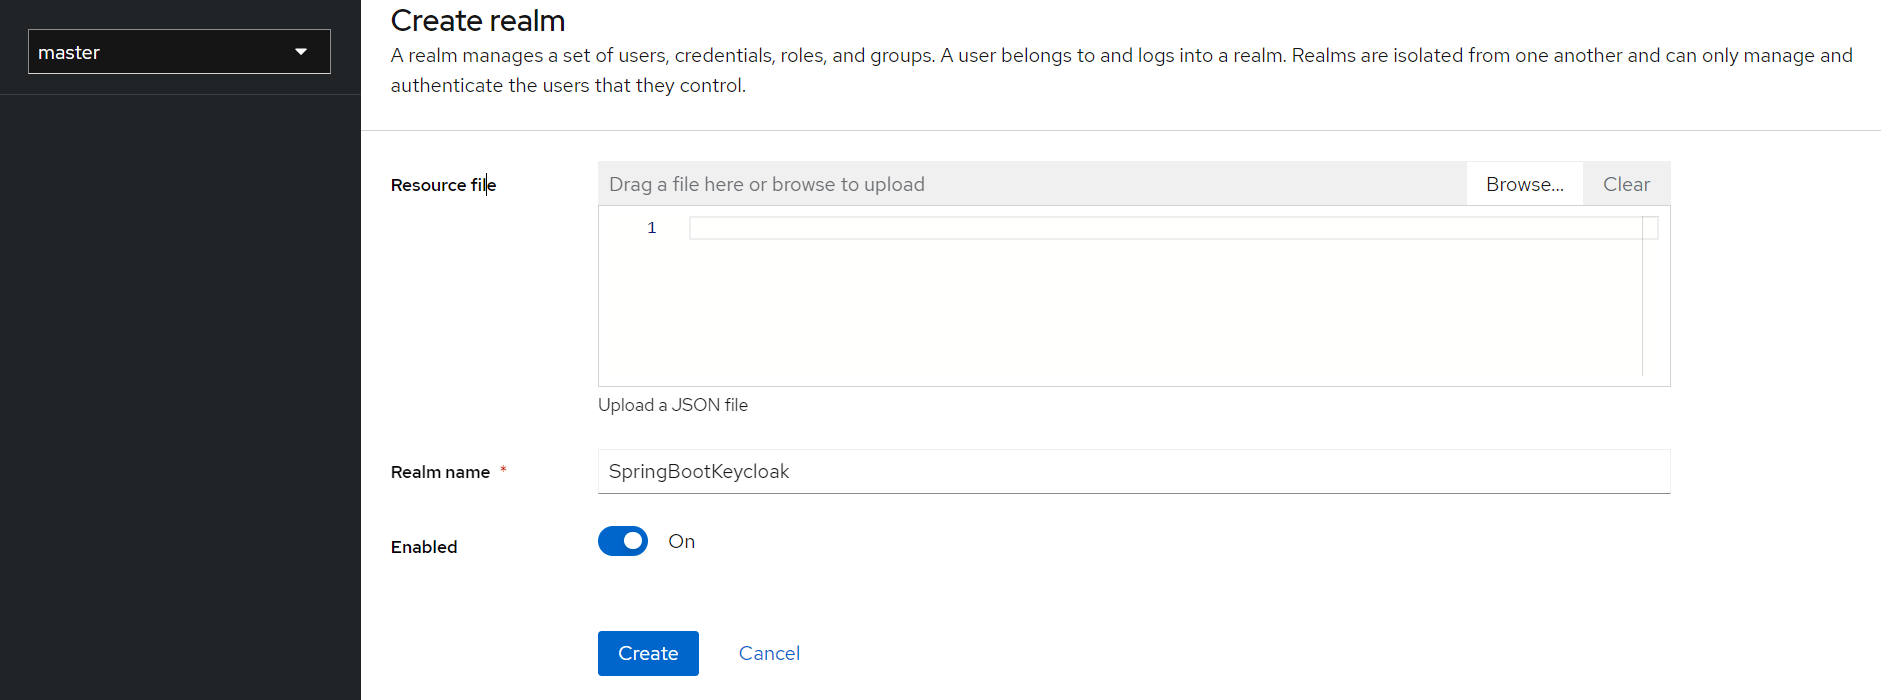
After clicking the Create button, a new realm will be created, and we’ll be redirected to it. All the operations in the next sections will be performed in this new SpringBootKeycloak realm.
Creating a client
Now we’ll navigate to the Clients page. As we can see in the image below, Keycloak comes with Clients that are already built-in:
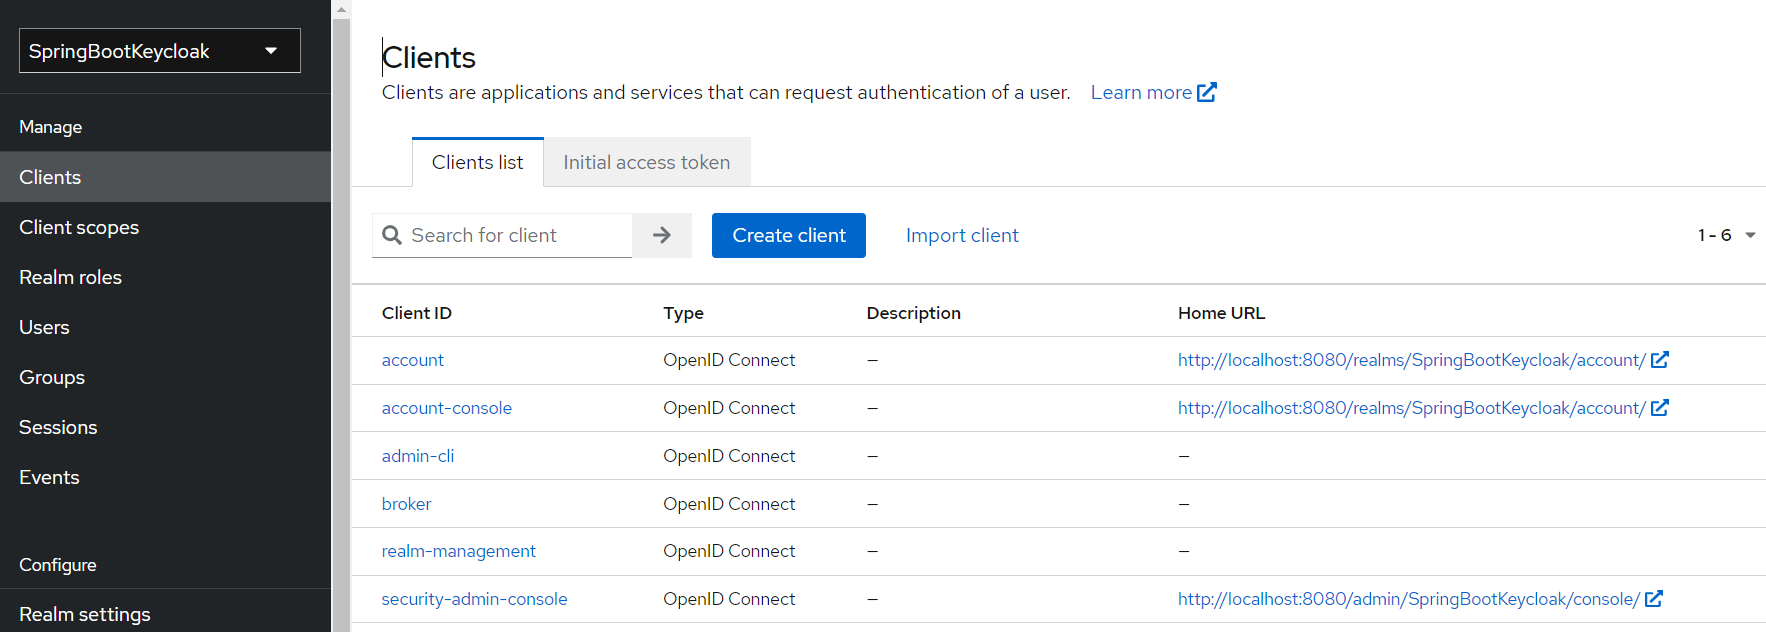
We still need to add a new client to our application, so we’ll click Create. We’ll call the new Client login-app:
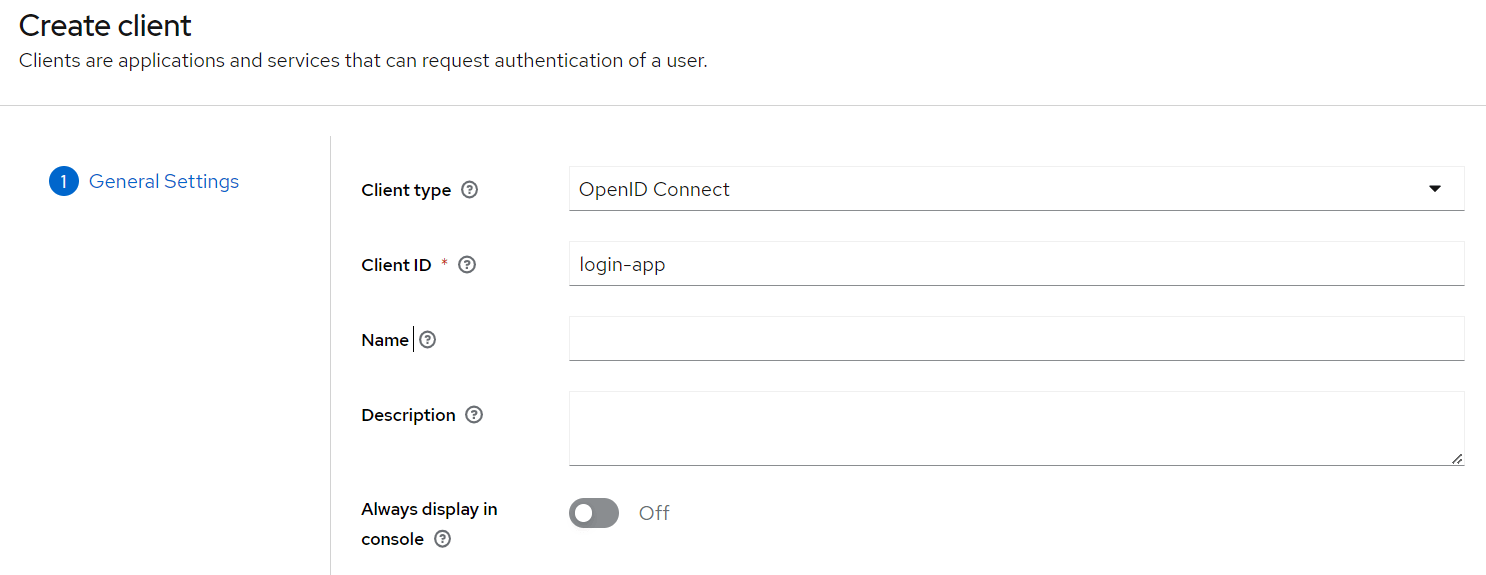
In the next screen, for the purpose of this tutorial, we’ll leave all the defaults.
Creating a Role and a User
Keycloak uses Role-Based Access; therefore, each user must have a role. To do that, we need to navigate to the Realm Roles page:
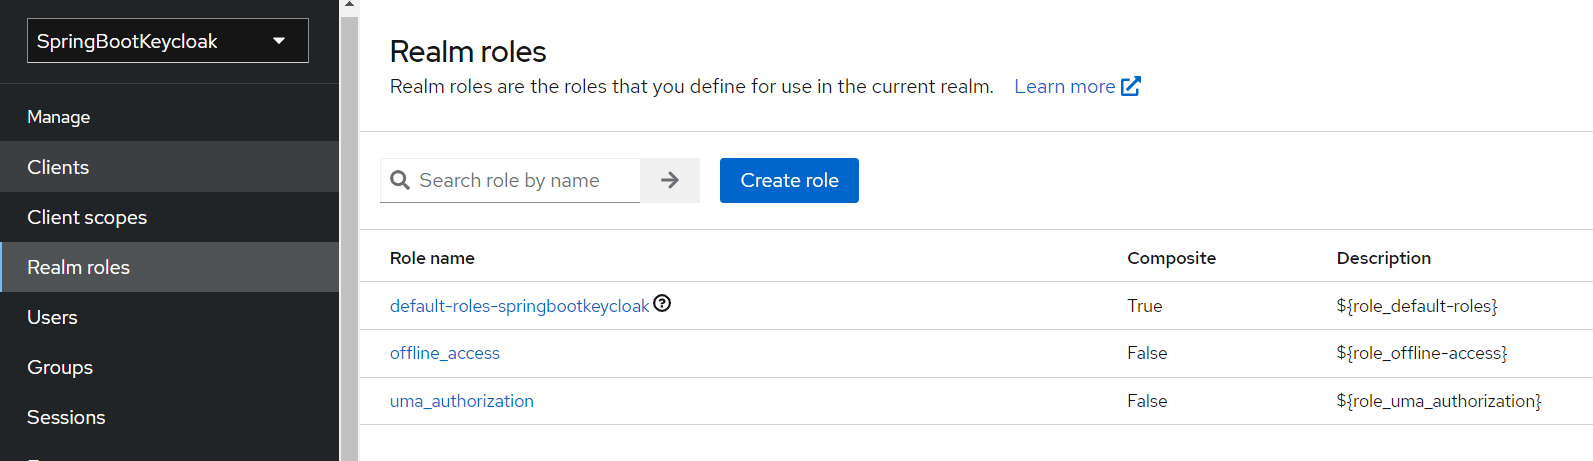
Create two roles:
- profiles1
- profiles2
Create a user
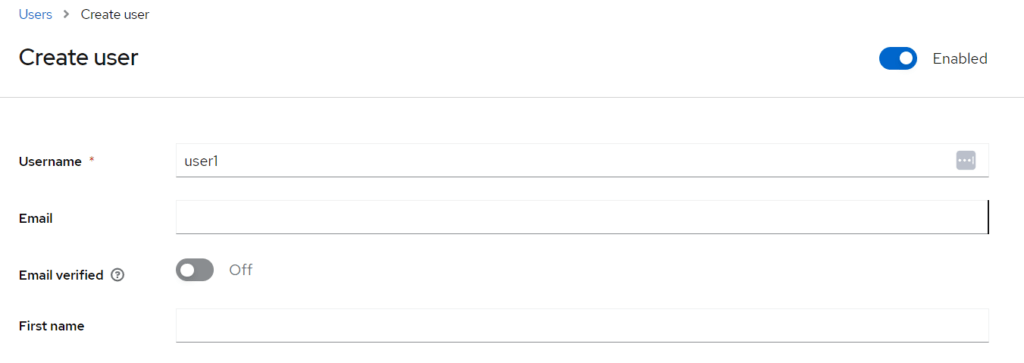
Now we have a role that can be assigned to users, but as there are no users yet, let’s go to the Users page and add one. Navigate to the Users page and click Add user:
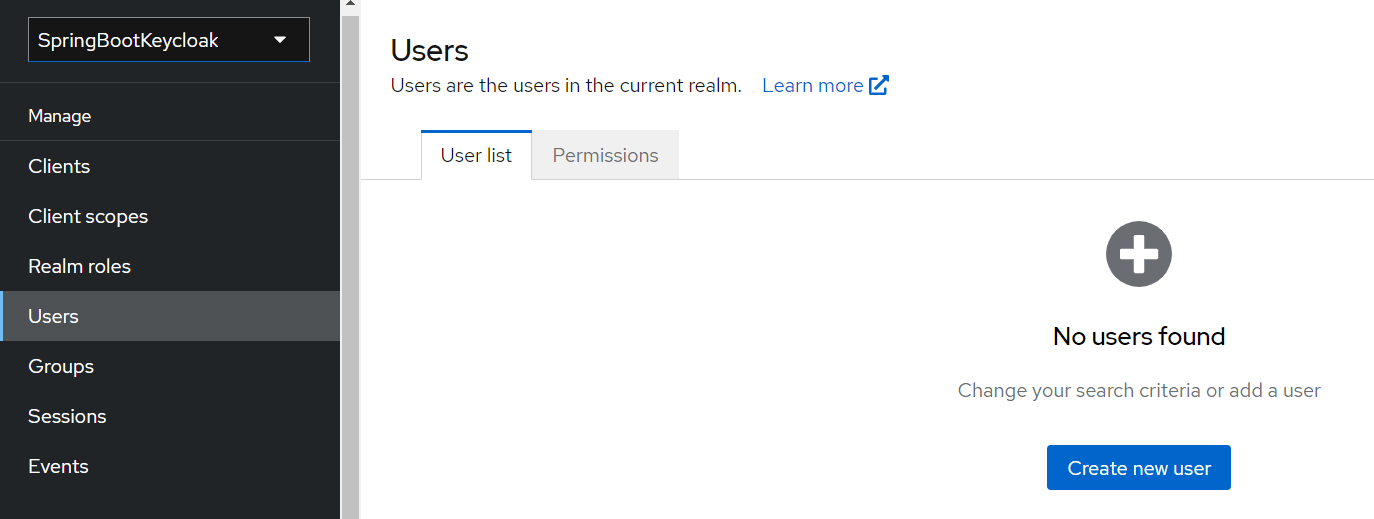
Now we’ll navigate to the Users page and create a new user named user1:
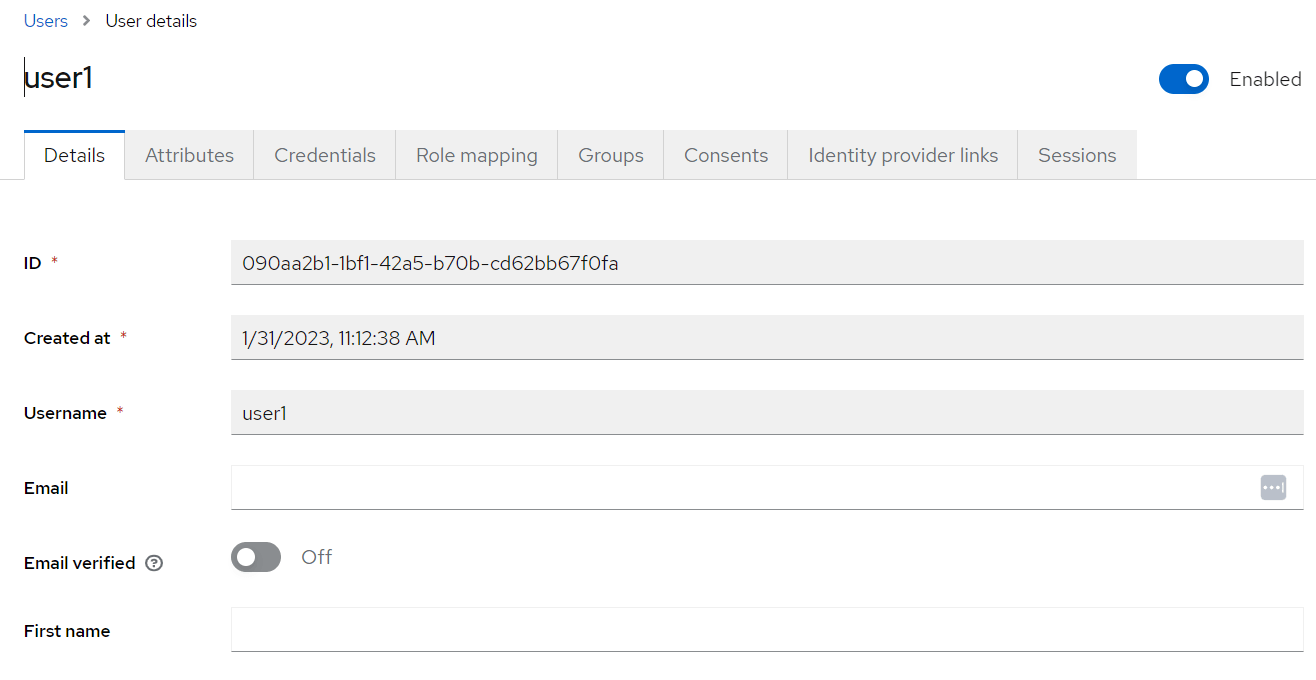
Once the user is created, a page with its details will be displayed:
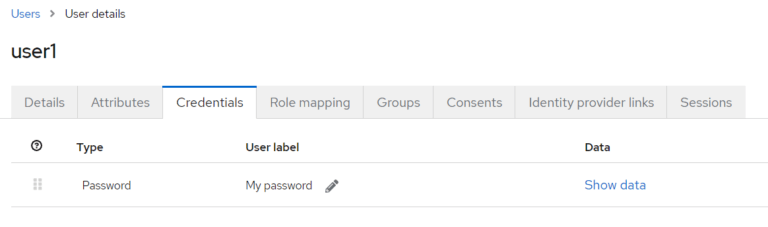
We can now go to the Credentials tab. We’ll be setting the initial password to user1pwd. We’ll also disable the Temporary option!
Finally, we’ll navigate to the Role Mappings tab. We’ll assign the profile1 role to our user1.
Create a 2nd user
Replicate the previous steps to create a 2nd user named user2 with password user2pwd and assign the profiles2 role to it.
Conclusion
Now we have a Keycloak server running with a realm, a client, and two users with different roles. In the next part of this tutorial we will create a Springboot application that will use this Keycloak server to authenticate users and authorize them to access the REST API.